


Process

Design Challenge
How might we make proper bottle recycling feel easier, cleaner, and more satisfying than throwing the bottle away?
The prototype needed to handle the messy parts of recycling while keeping the interaction simple enough for public use.
To understand why existing compacting products fail, we tested and dissected a Joseph Joseph compacting trash can. We placed it in a real dorm kitchen for 48 hours, observed how people used it, and analyzed the internal mechanism.
Users were interested in the satisfying act of crushing waste, but the product created new friction. It required too many steps, broke under normal use, and did not feel much easier than crushing by hand.
The insight: recycling tools need to be automatic, durable, hygienic, and satisfying.


Brainstorming improvements for current trash compactors and waste management
Choosing + Validating the Crushing Mechanism
We explored several ways to compact bottles, including a manual lever, cam system, linkage mechanism, and motorized actuator. The key tradeoff was balancing force, reliability, cost, fabrication risk, and user effort.
Manual systems kept too much burden on the user. Cams and linkages introduced more tuning and alignment risk. We chose a 200 lbf linear actuator because it provided enough force, used simple linear motion, and supported a clear one-button interaction.

Linkage Mechanism: higher fabrication and alignment risk

Cam System: adds tuning complexity
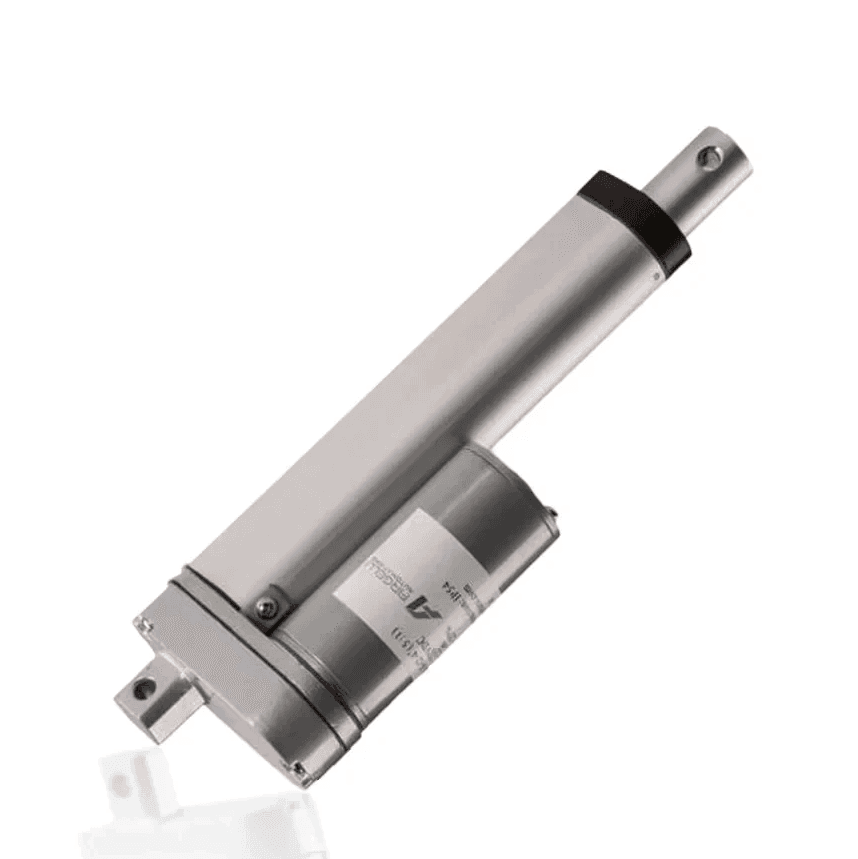
Off-the-shelf Linear Actuator: chosen for its force, simplicity, sourcing, and integration
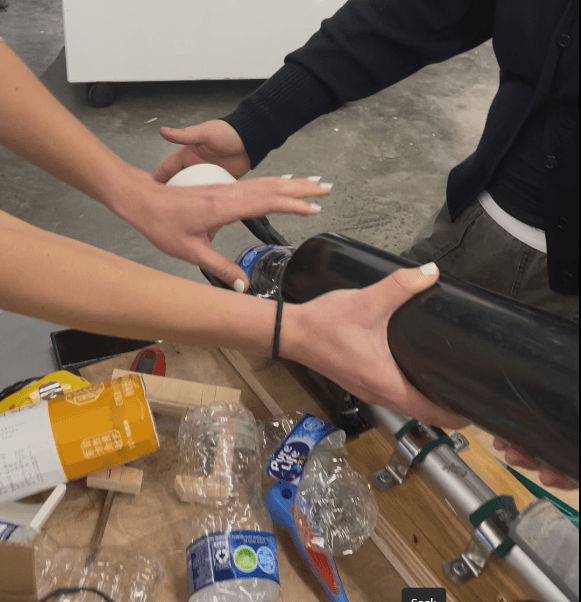
Before building the full enclosure, I tested the actuator in a rough proof-of-concept. I wired it through a breadboard and switch, mounted it to scrap PVC and wood, and tested real bottles with different conditions. The setup was crude, but it confirmed that linear actuation could support the full system.

Early actuator test rig used to validate whether a 200 lbf linear actuator could crush real bottles before committing to the full enclosure.
Lo-Fi Prototyping for System Configuration
Next, we tackled layout. Our team debated vertical vs. horizontal configurations. I quickly created CAD mockups and cardboard prototypes of both to test ergonomics and drainage. We chose a slanted horizontal layout, which:
Allowed gravity-assisted drainage
Aligned better with actuator motion
Made bottle insertion and visibility easier
This decision became the foundation for our mechanical structure and user-facing interface.
Sketching out the entire user process for each layout configuration:


using lo-fi prototypes to test layout feasibility:
After validating the mechanism and layout, I led the mechanical build from rough prototype to working system.
My work focused on the actuator mount, bottle path, enclosure, blade integration, drainage ramp, and physical assembly. The prototype had to do three things reliably: puncture the bottle, manage leftover liquid, and compress the plastic without exposing the user to the moving mechanism.
Second-Pass Prototype: Refining the Actuator System
The first step was confirming that a linear actuator could reliably crush a water bottle. I wired a 200 lbf actuator through a breadboard and 3-way switch, mounted it to scrap PVC and wood, and tested it with empty bottles—some with caps, some without, in various shapes. It worked. That early success gave us confidence to move forward.


Iteration with CAD & FEA
I transitioned to CAD to model the actuator mount, bottle path, and enclosure. I went through several iterations of the actuator mount specifically, refining hole placements, fastener clearances, and bracket dimensions to improve alignment and rigidity. If the actuator wasn't sitting flush or started to flex under load, I updated the CAD, re-cut parts, and remounted them in the shop to get it right. The structure had to match the actuator's stroke and allow easy fabrication with the shop tools and materials available to us.


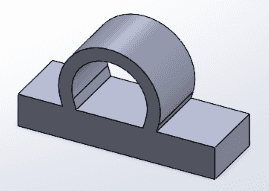
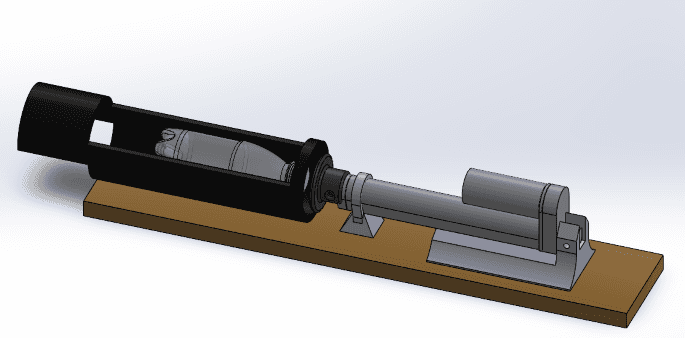
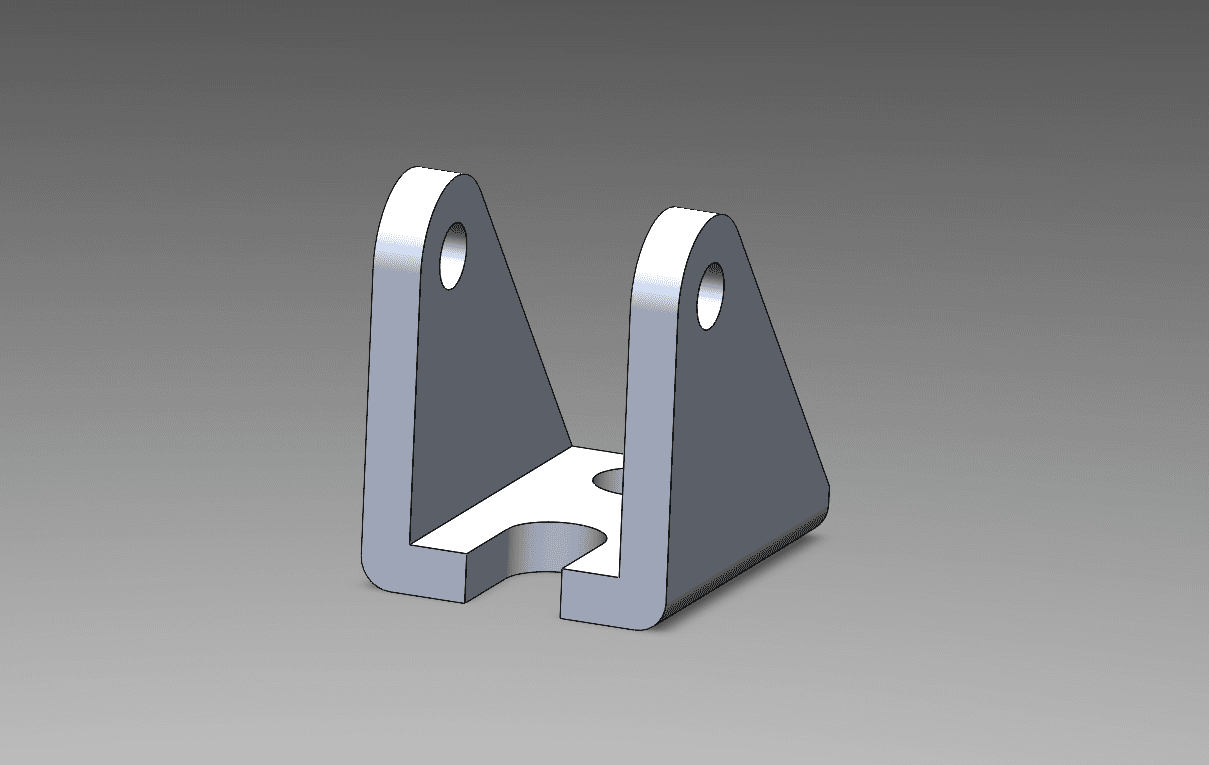


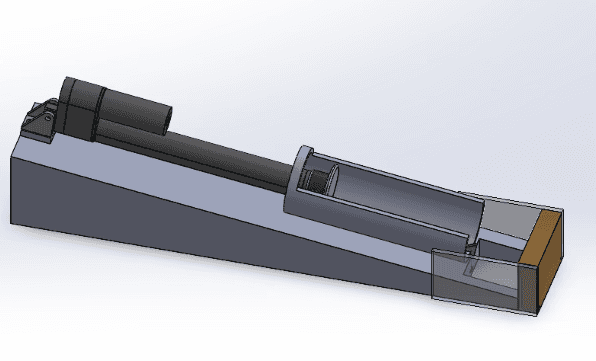


FEA helped check stress concentration around the actuator mount and informed where the structure needed additional support.
Machine Shop Fabrication
Crushing alone was not enough. Many bottles still contained liquid, so the system needed to release and redirect fluid before compression.
I designed and installed a stainless steel blade mount positioned to pierce the bottle without jamming the mechanism. I also added a slanted acrylic drainage ramp that directed liquid into a filtered bin below the crush chamber.
The blade angle, placement, and support geometry were refined through testing. If the bottle caught, slipped, or failed to drain cleanly, I adjusted the mounting position and reworked the surrounding structure.
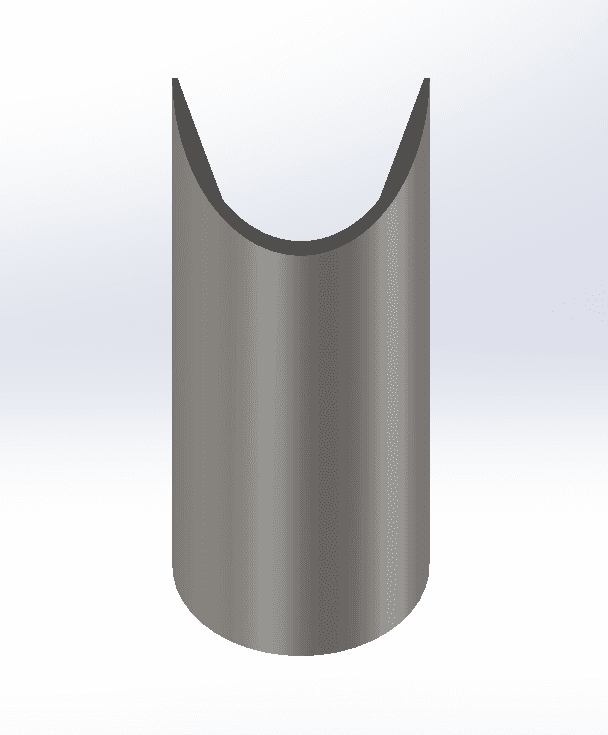

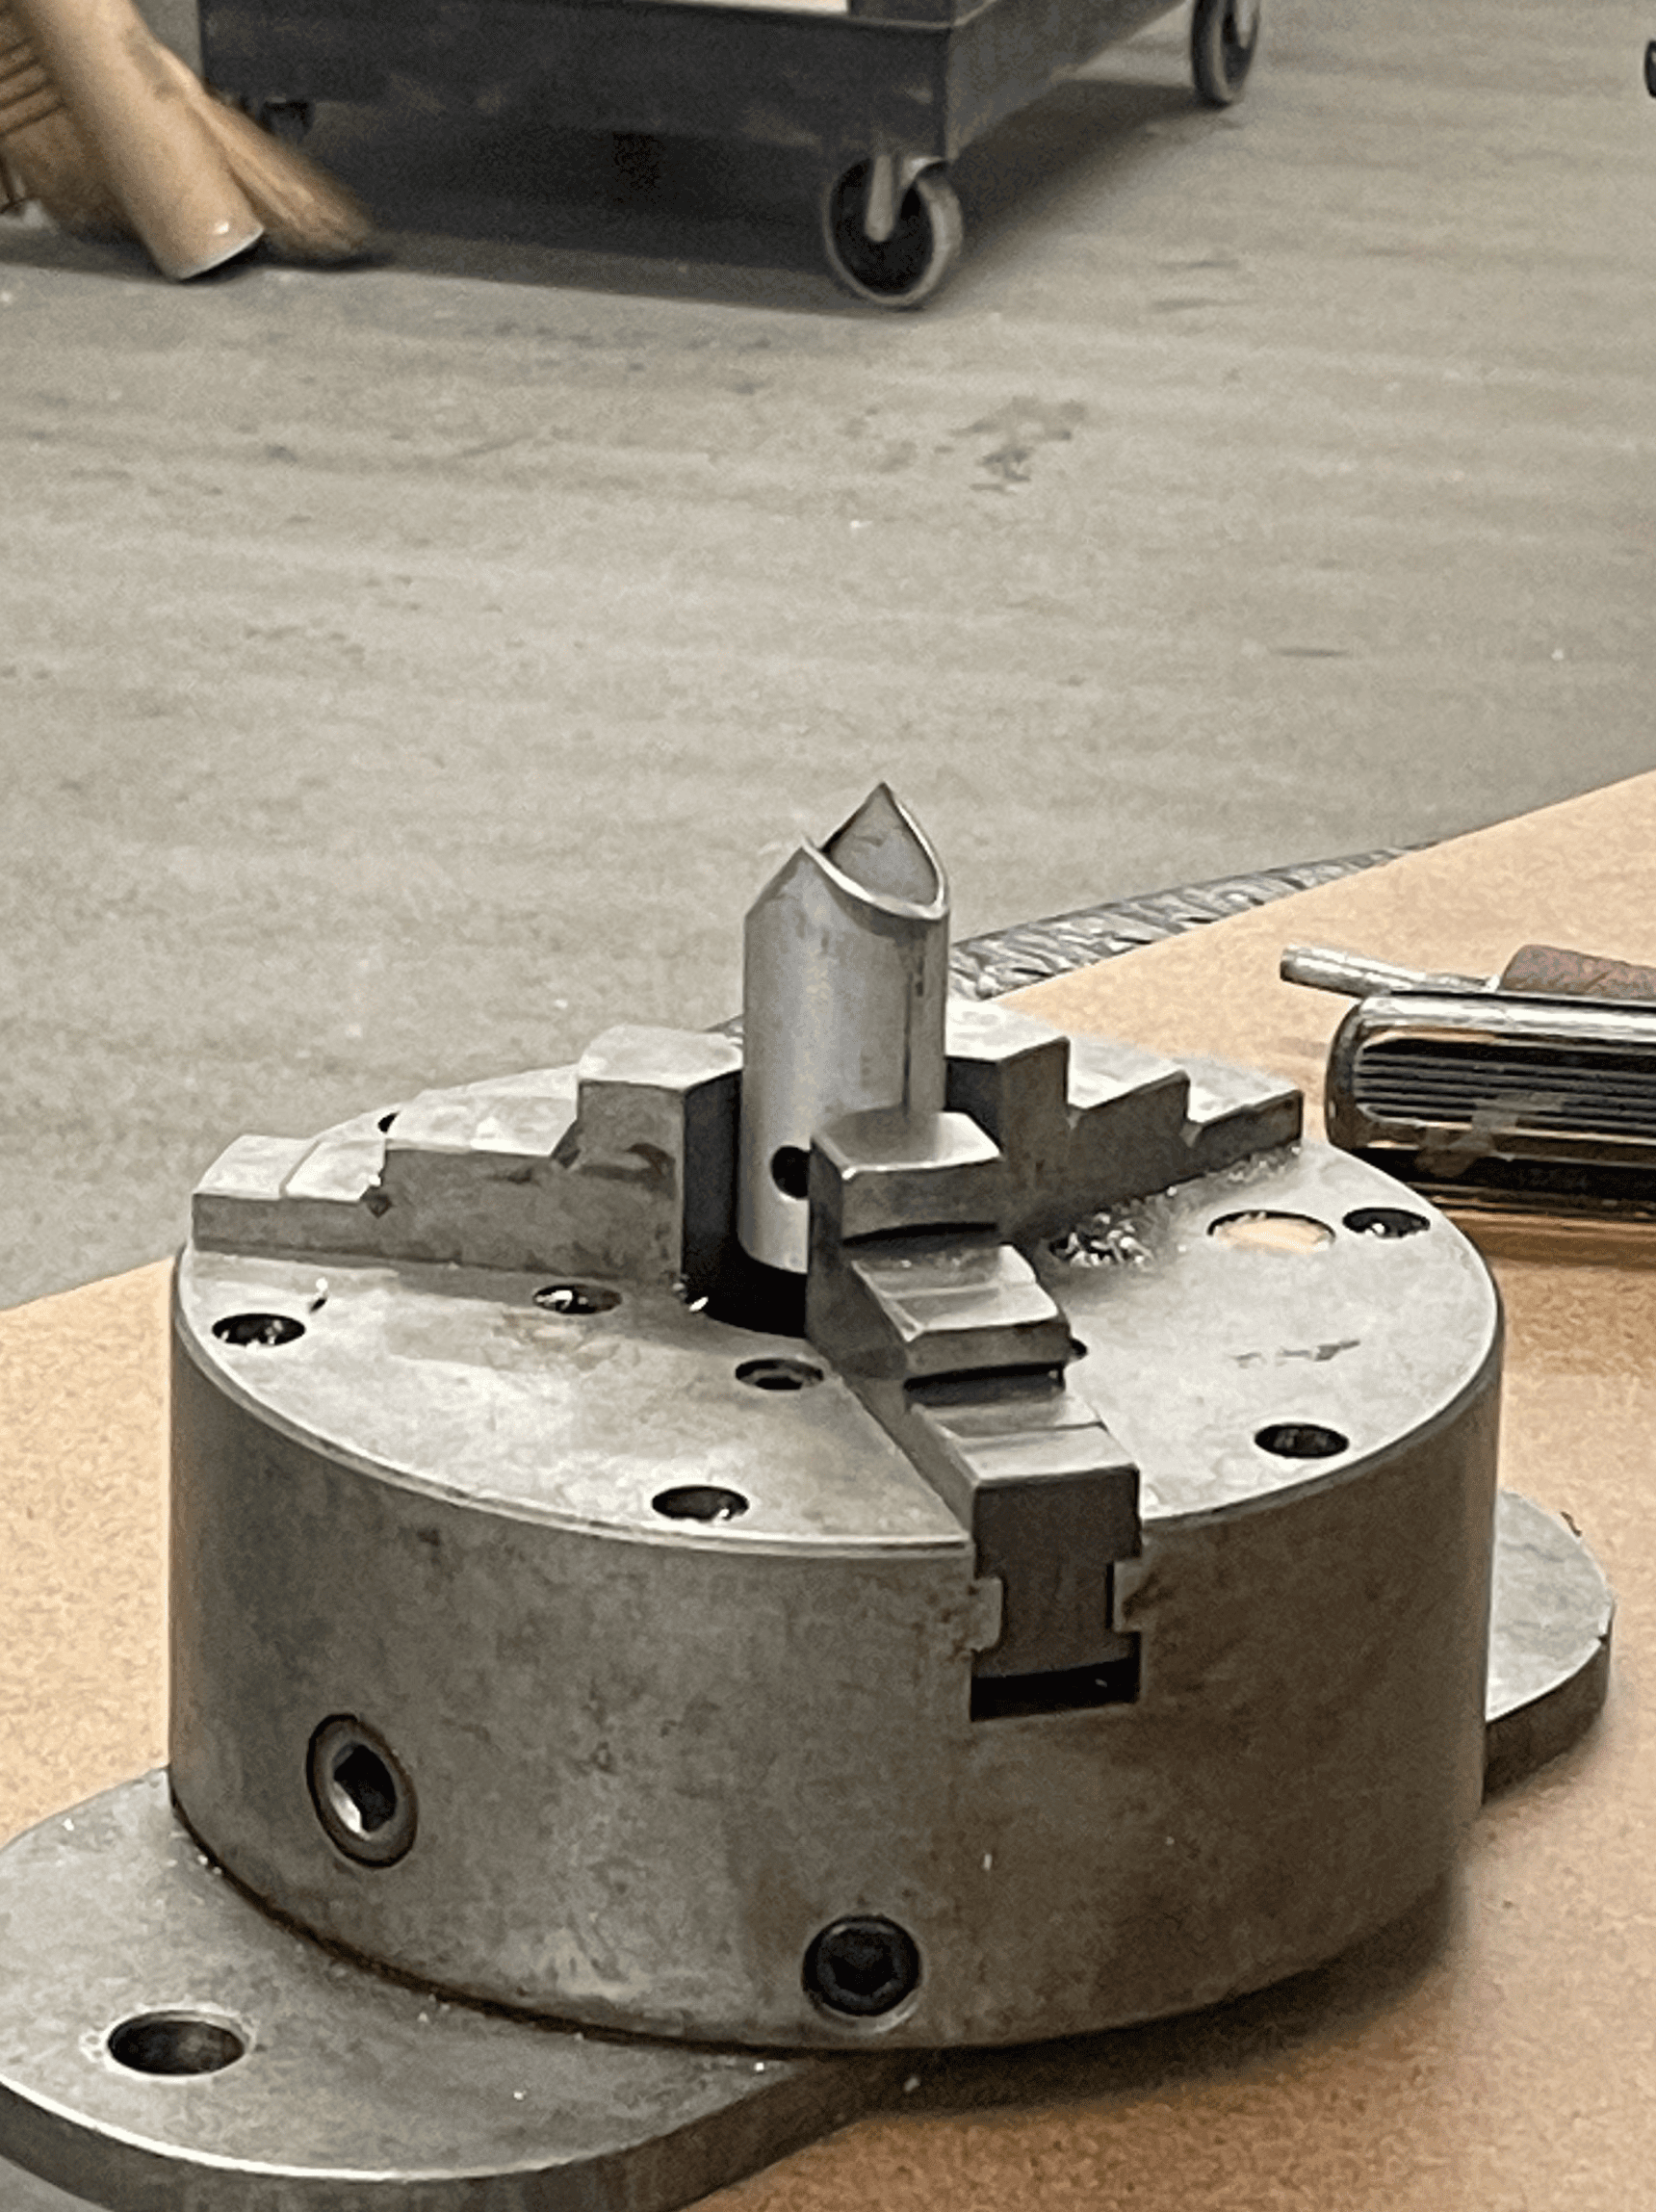
custom blade geometry designed to pierce bottle without getting stuck
I built most of the prototype by hand in the shop, including the PVC chute, acrylic and wood frame, laser-cut panels, actuator supports, and drainage components.
The final assembly required constant fitting and adjustment. When holes were misaligned, I re-drilled them. When the chute sagged, I reinforced it. When parts flexed under load, I revised the CAD and re-cut supports.
The prototype was not simply assembled once. It was tuned through repeated physical testing until the machine could complete the full interaction consistently.

Hand-fabricated prototype was assembled from PVC, acrylic, wood, stainless steel, and off-the-shelf actuator components.
Through testing, we validated the core interaction and mechanical system.
The prototype could process standard 16.9 oz plastic bottles, redirect leftover liquid into the filter bin, and complete the interaction through a single button press. The clear chamber made the mechanism visible, while the enclosure helped keep users away from the blade and actuator motion.
System Validation
Visual & Emotional Design - Pittsburgh-Made
After the core prototype was functional, I explored a Pittsburgh-inspired visual direction to make the machine feel more like a public-facing campus object than a trash compactor. The concept included a bus-like blade housing, bridge-inspired actuator rails, and a skyline-based frame. These details were not fabricated, but they helped imagine how the system could become more local, playful, and approachable.



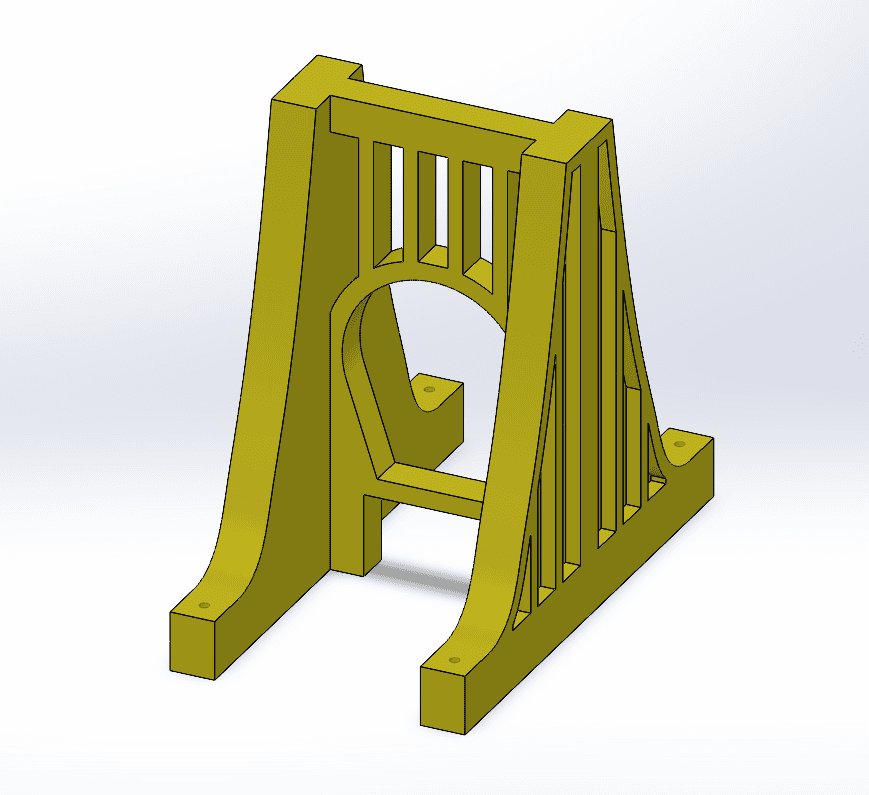

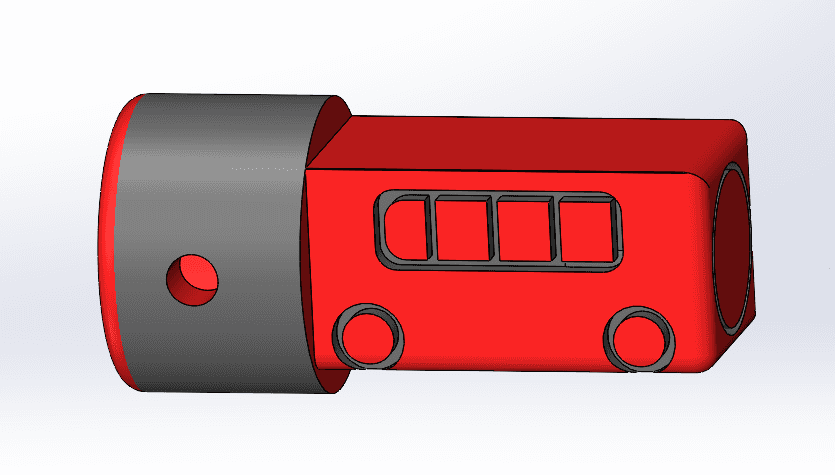

A future visual direction explored how the prototype could become a more playful public object.
Final Prototype + Expo Results
Live public demo
Immediate Interaction
Crowd Appeal
Recognition

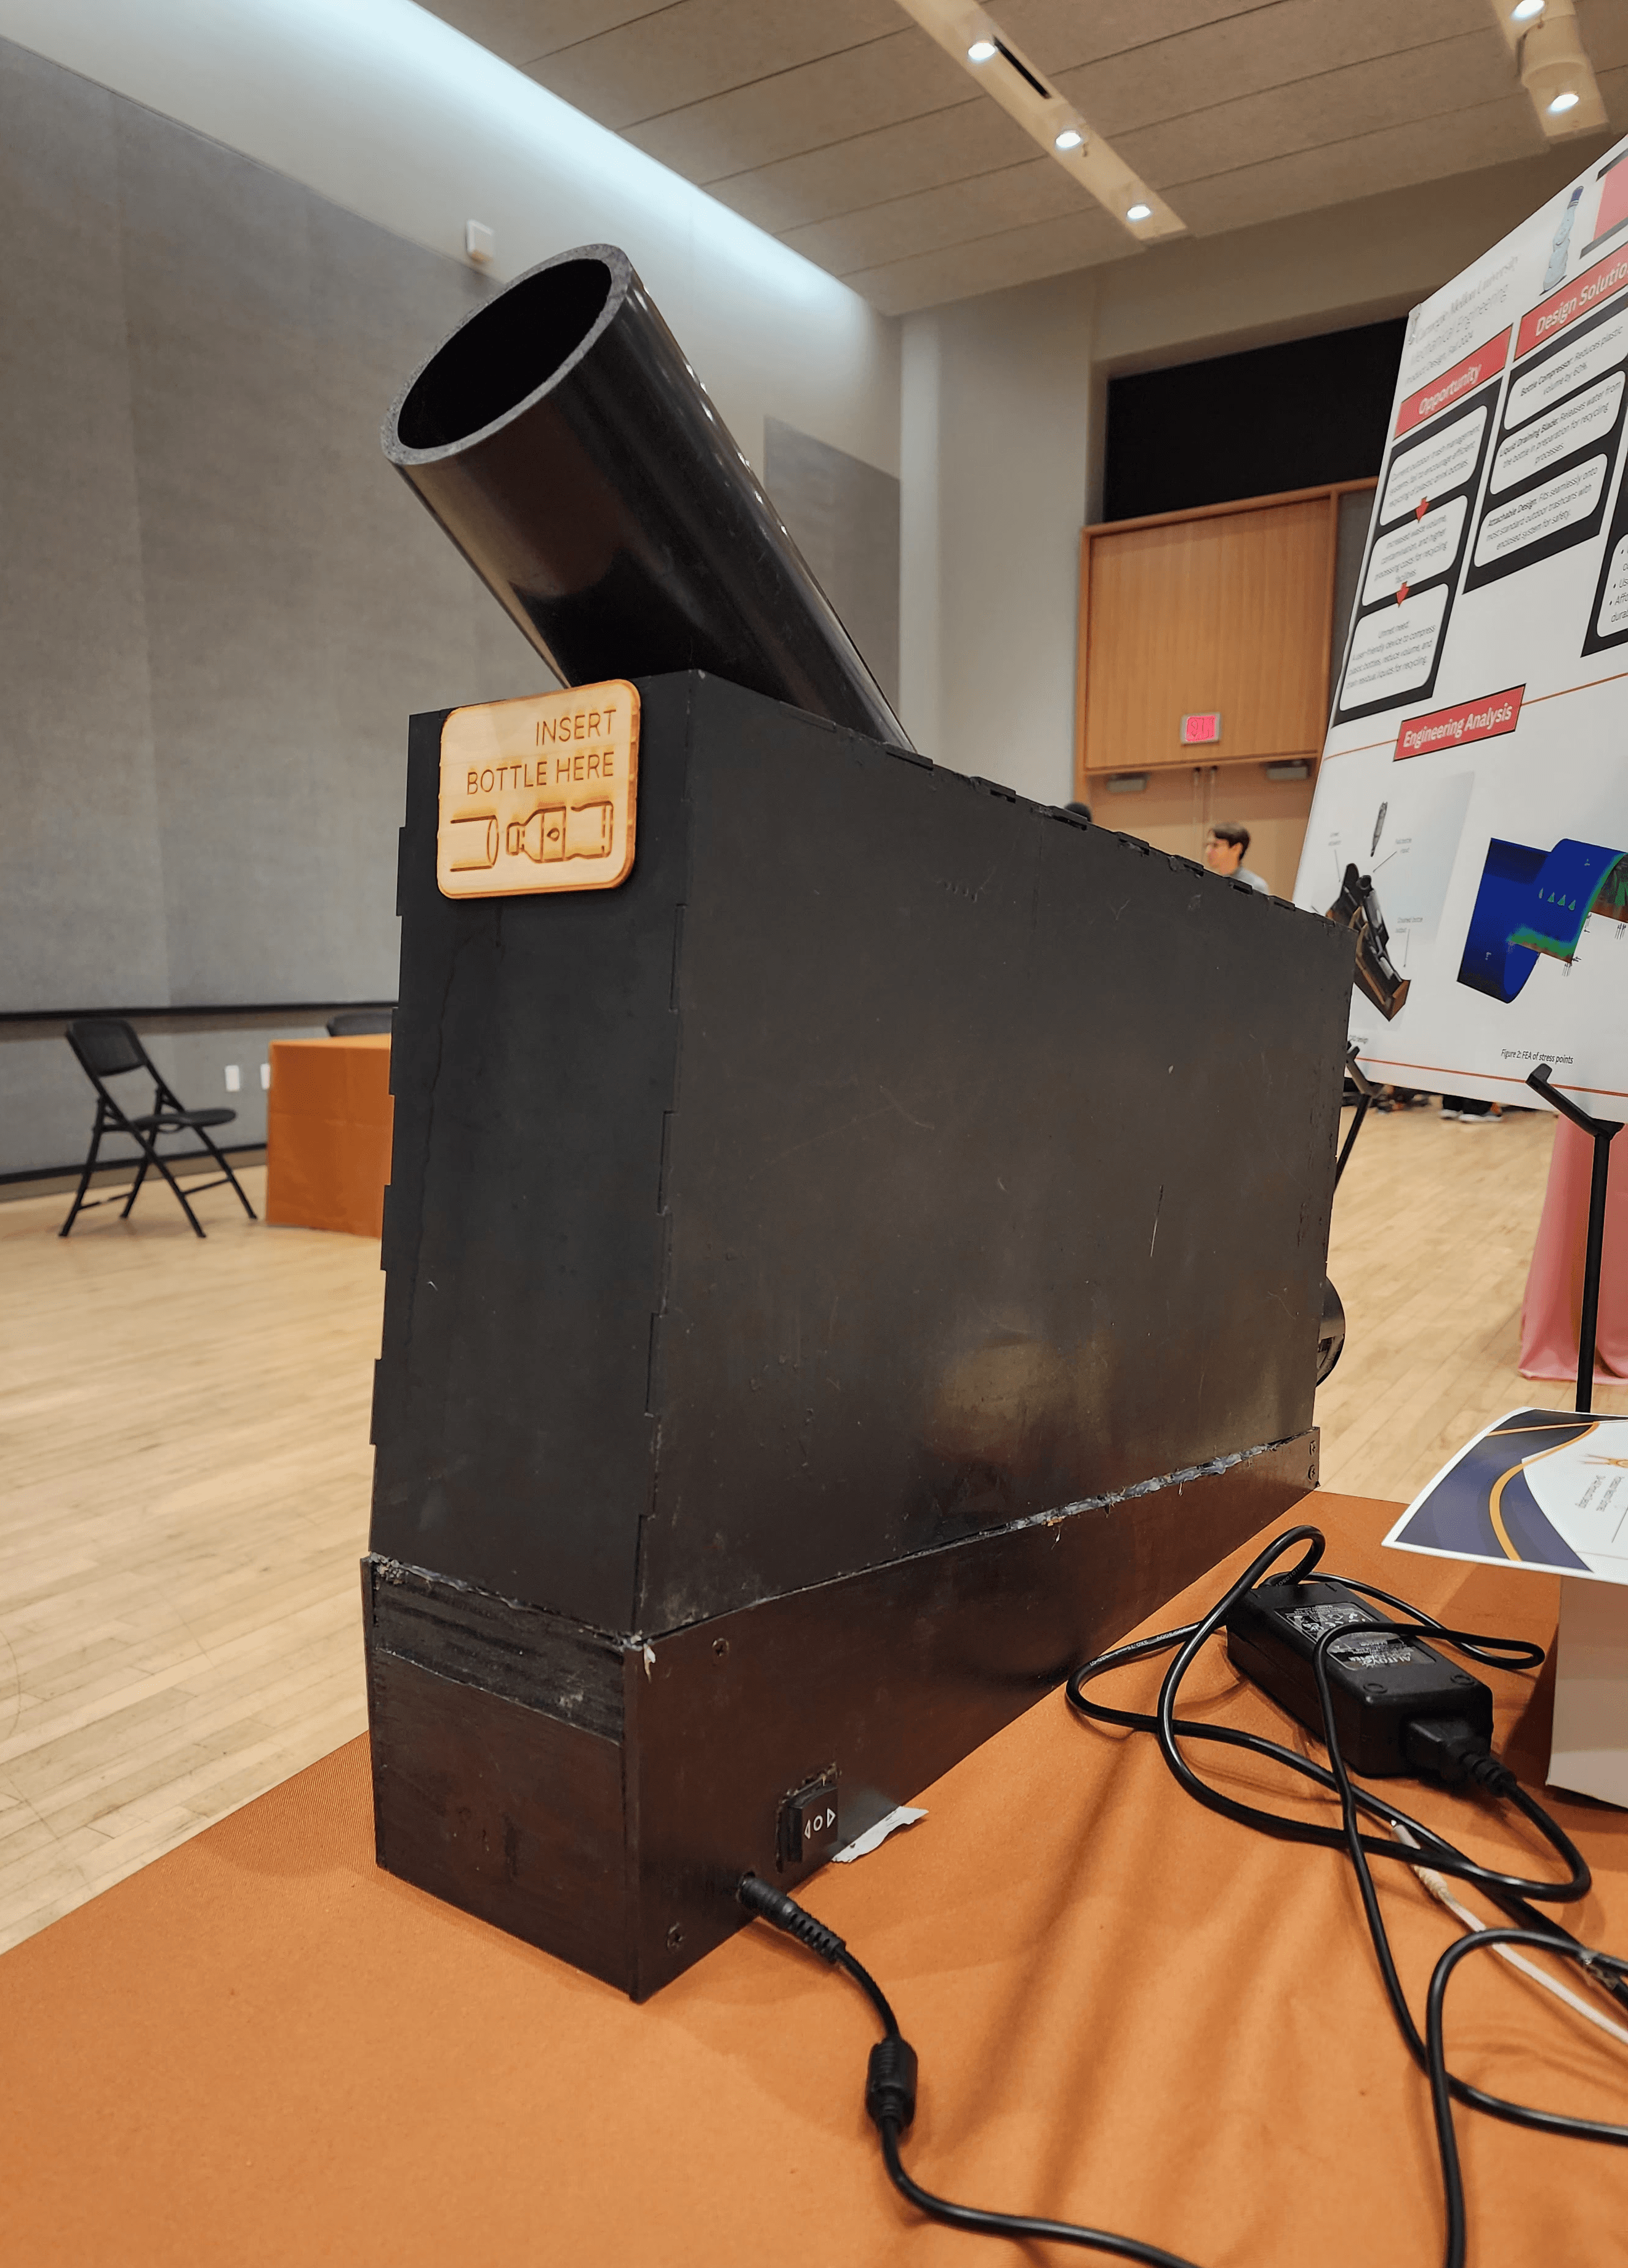


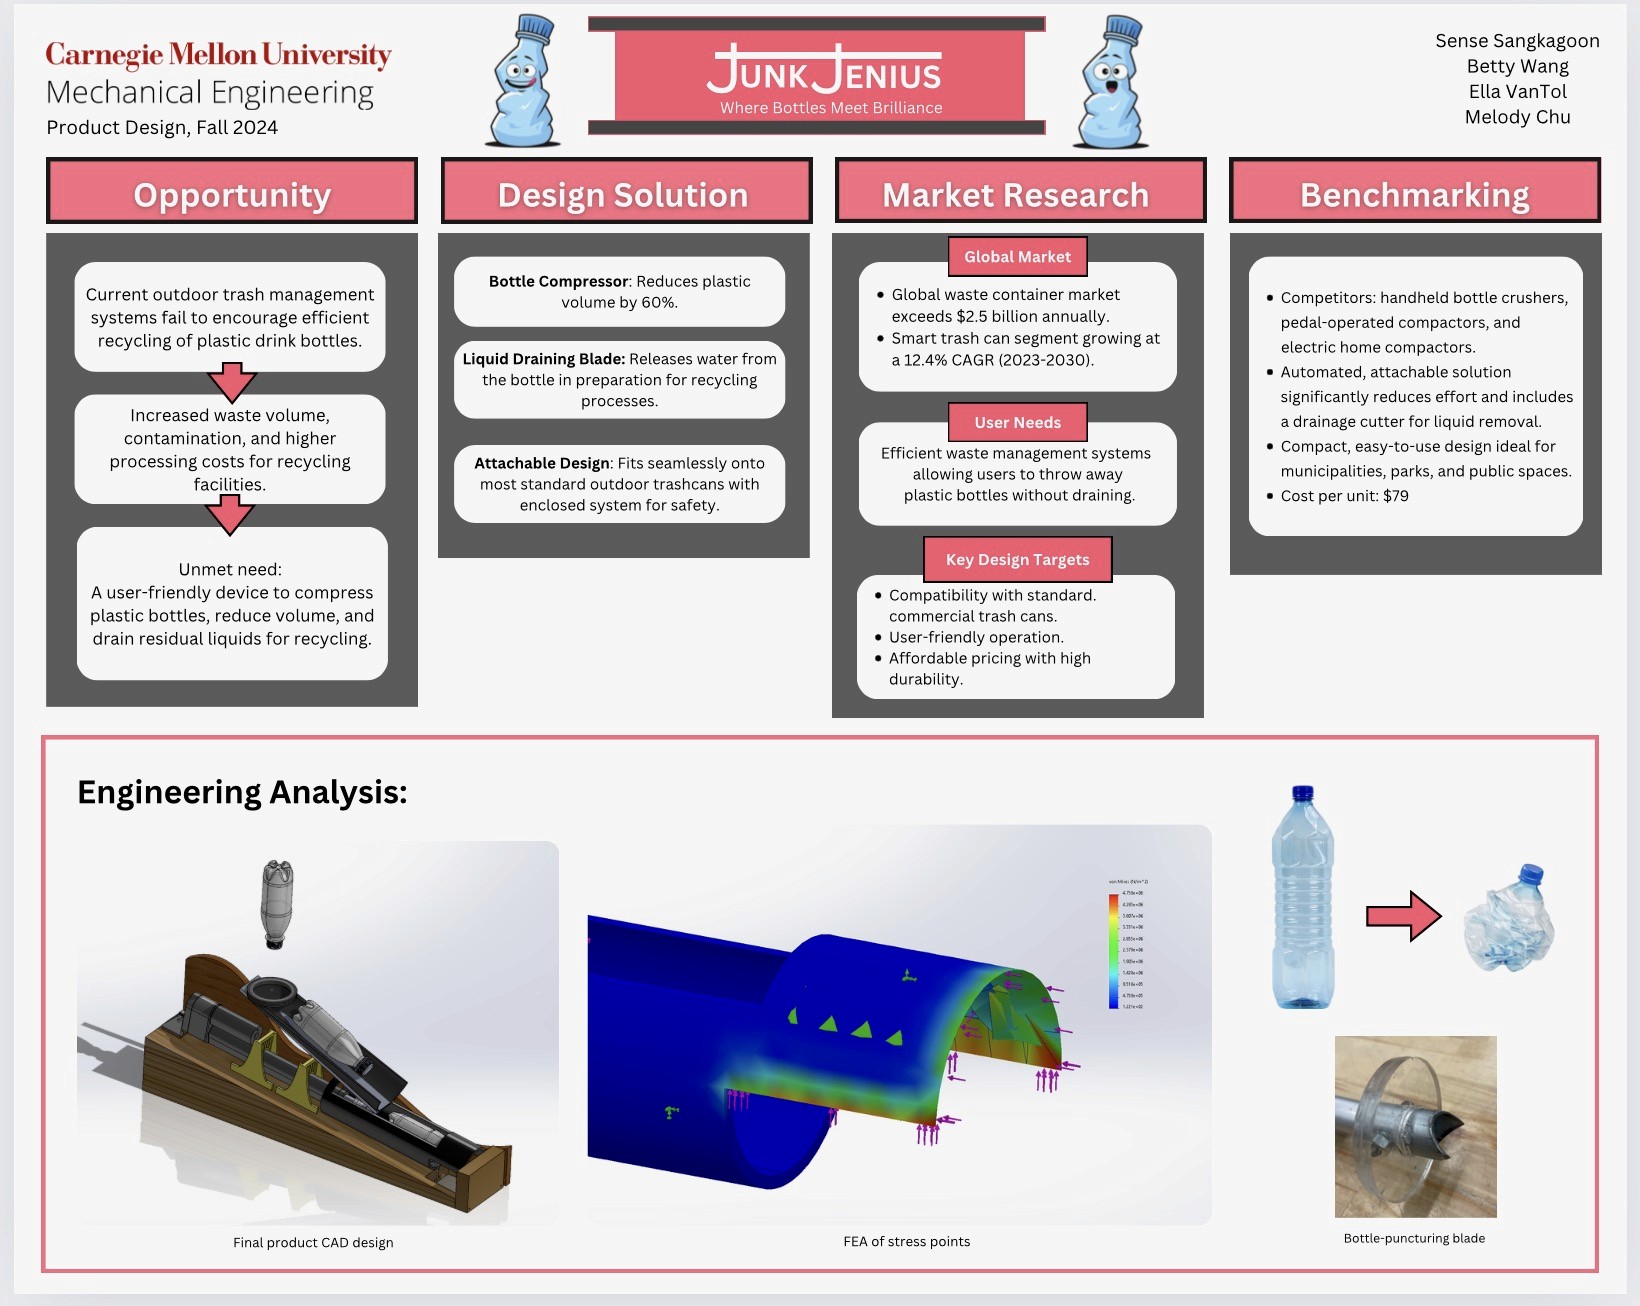
My work moved the project from a promising concept into a functioning electromechanical prototype.
I validated the actuator-based mechanism, developed the bottle path, modeled and revised the structure in CAD, fabricated the physical system, integrated the blade and drainage ramp, and tuned the assembly through repeated testing.
Because of that work, the machine could perform the full intended interaction through one clear user action.
This was my capstone project and one of the most rewarding experiences of my time at CMU. I loved building something tangible, solving mechanical problems hands-on, and watching people light up when they interacted with the final prototype. Every time someone wanted to try the machine, they also recycled a bottle. This project taught me that mechanical systems can shape behavior when the interaction is clear enough.
The challenge was not only generating enough force to crush a bottle. It was designing the whole experience around that force: where the bottle goes, where the liquid goes, what the user can see, what they can touch, and how the machine communicates trust.
If I continued the project, I would focus on durability testing, maintenance access, sanitation, and a more refined public-facing enclosure. Those next steps would be essential for turning the prototype into something campus facilities could realistically deploy.


